Deploy cloudflared in AWS
The purpose of this guide is to walk through some best practices for accessing private resources on AWS by deploying Cloudflare’s lightweight connector, cloudflared.
We will walk through how to initialize a service on a Linux VM in AWS, and route to it from another VM running cloudflared. This deployment guide does not take into account routing beyond basic security groups and default VPCs.
Prerequisites
- In Zero Trust, create a Cloudflare Zero Trust account.
- Enroll an end-user device into your Cloudflare Zero Trust account.
Create your environment
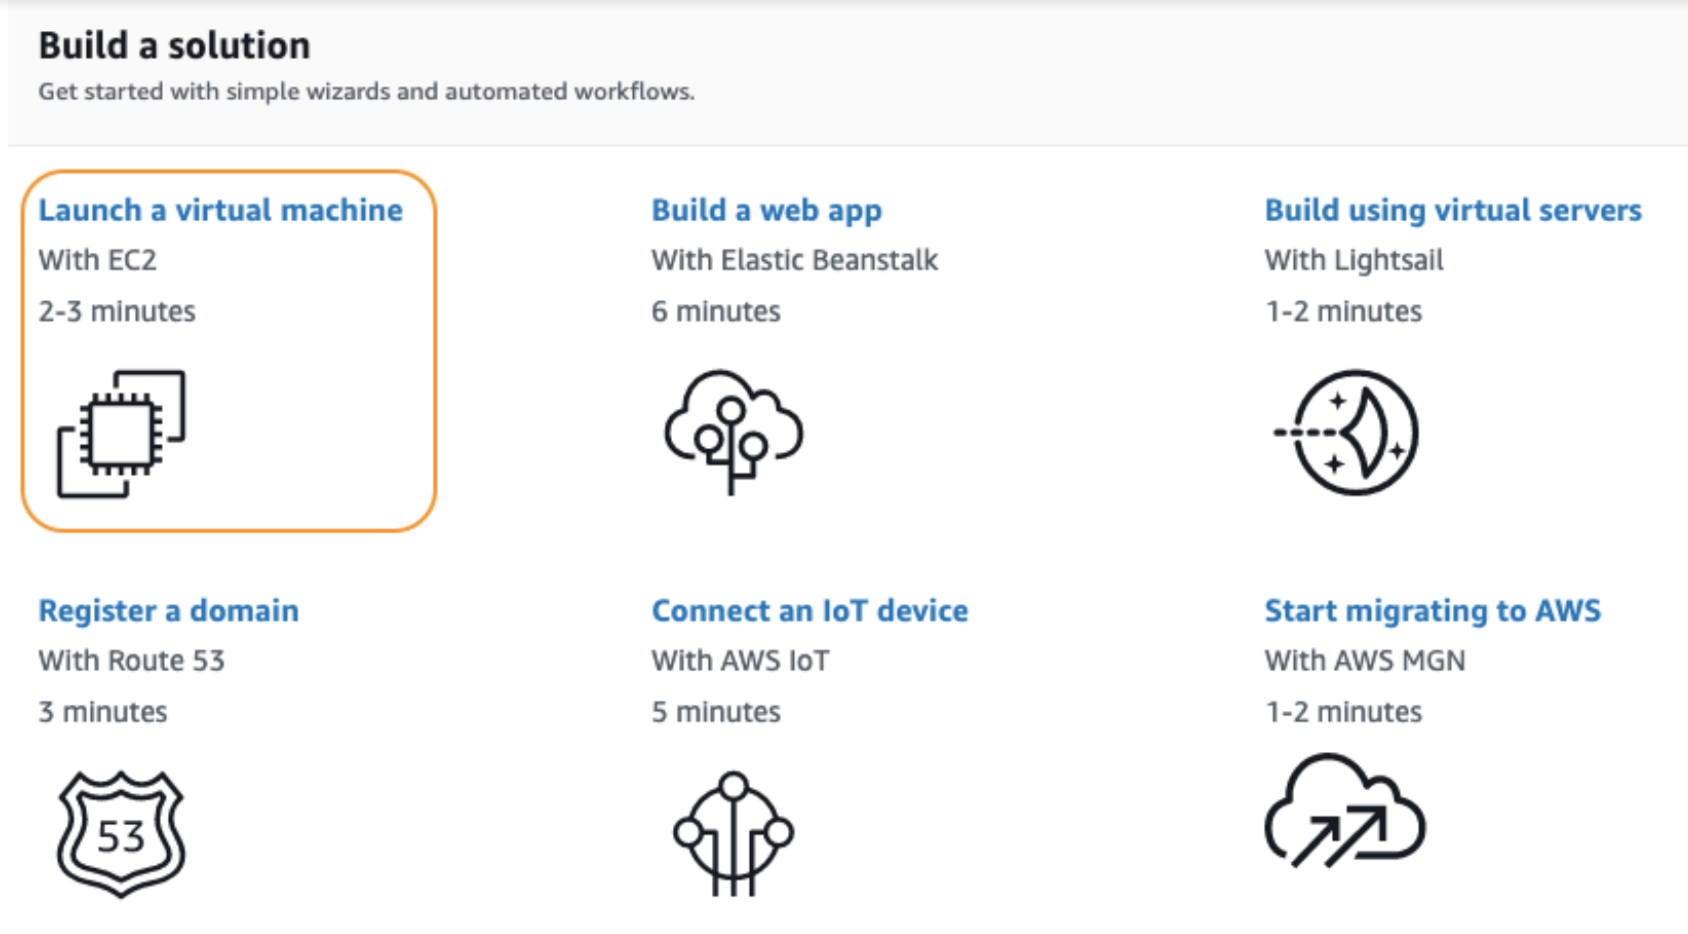
From the AWS console, go to Build a Solution and select Launch a Virtual Machine with EC2.

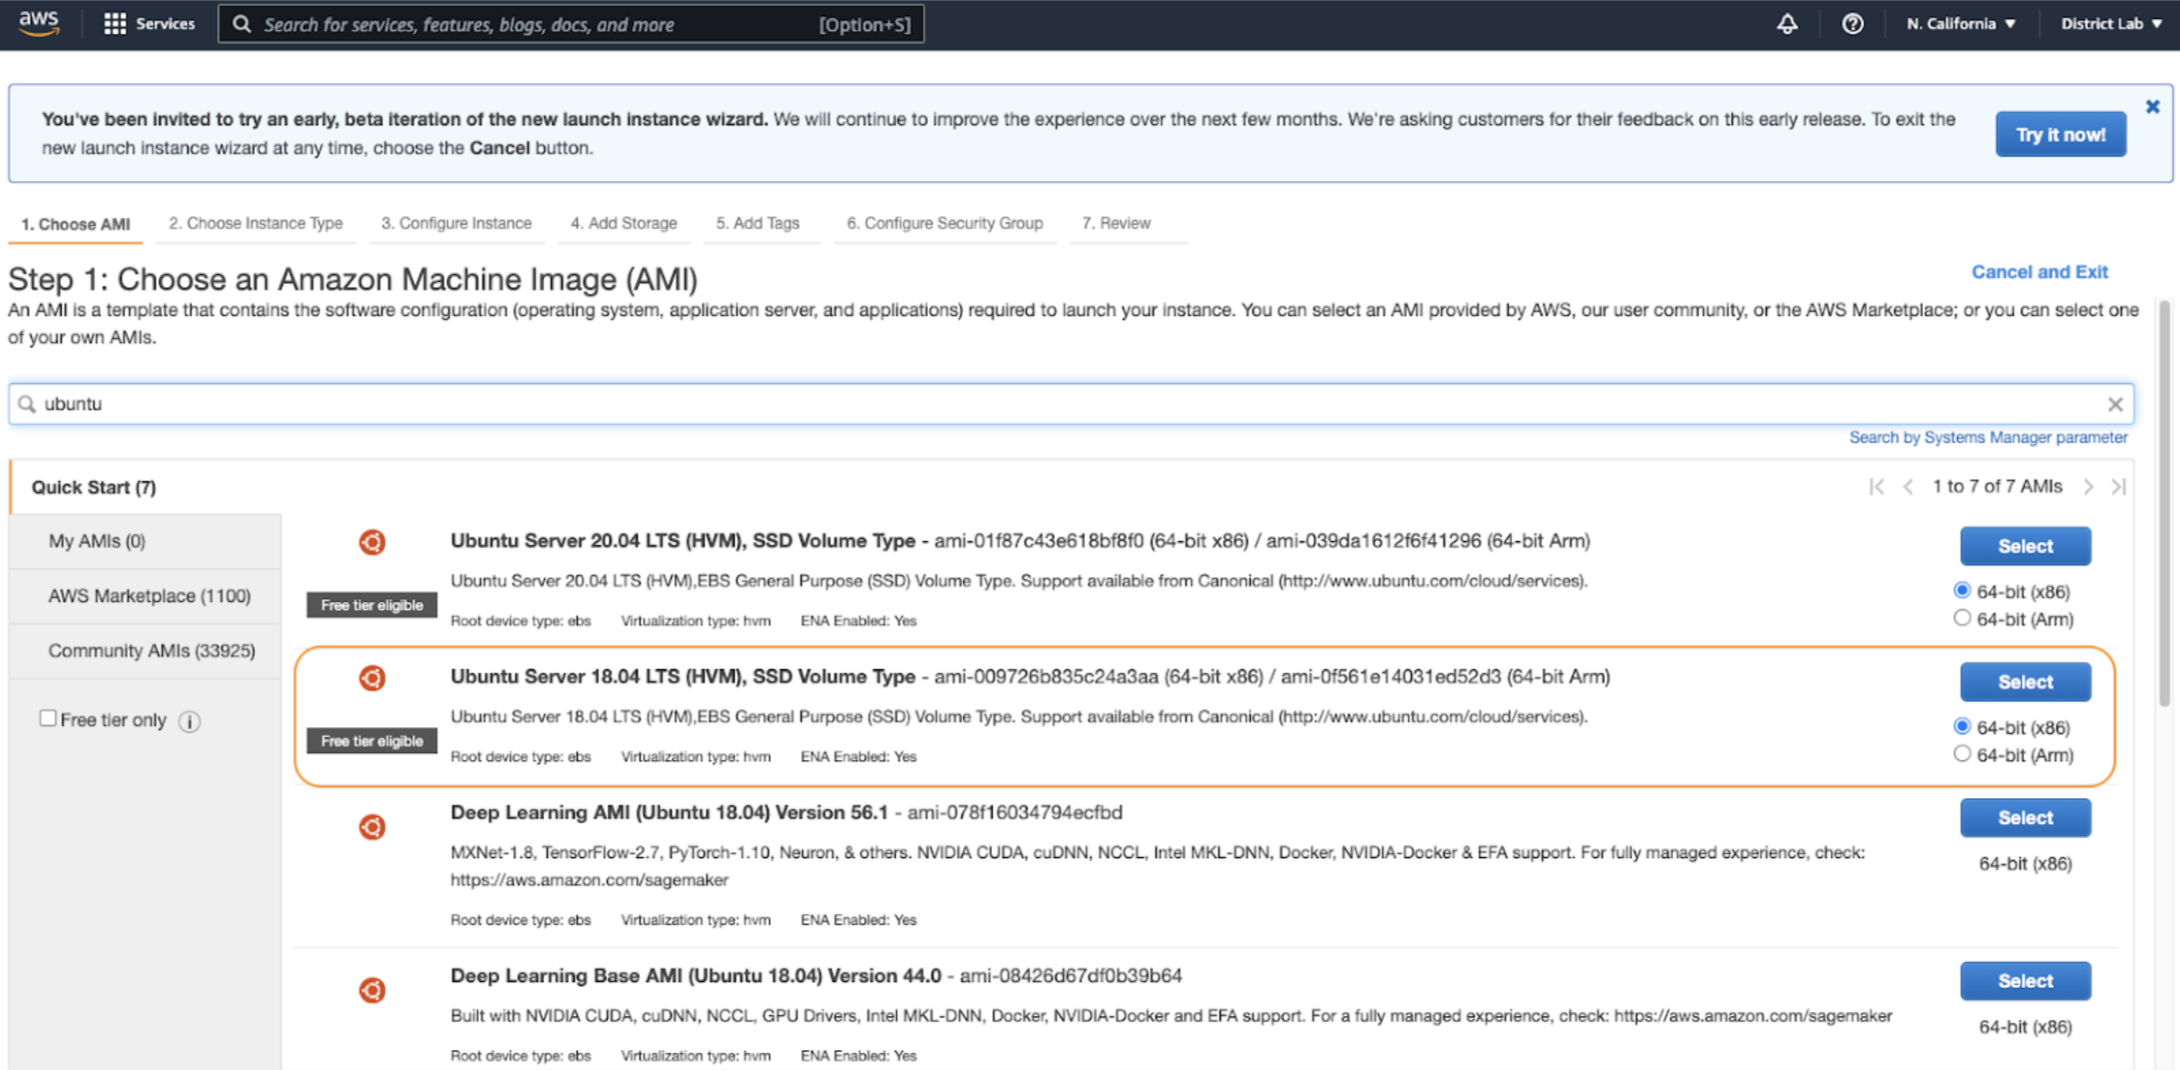
Next, select the appropriate AMI. In this instance, we are using Ubuntu 18.0.

When selecting your instance type, choose
t2.micro. This type is available for the free tier.Select Next: Configure Instance Details.
Because we are leaving this device on the default VPC, you will not need to make any changes in the next couple of steps, nor will you need to add additional storage or tags. Select Next: Add Storage, and then select Next: Add Tags.

Next, advance to Security Group Settings and add two policies:
- Ensure SSH is only accessible from your IP to prevent it being publicly accessible.
- Allow traffic from
172.31.0.0/16, which is the default internal IP range that AWS will give your device.
Deploy two
t2.microdevices, and then build a key pair. You will need to download the.pemfile in order to use SSH in the next steps.Finally, make sure you locate the Public IPv4 DNS address inside the instance summary on the AWS console. You will need that parameter as well in order to use SSH.

The next step is to build out and route a service.
Deploy cloudflared
Now that we have EC2 up and running in AWS, you can log in to your instance.
SSH into your AWS instance using the command line.
$ cd Downloads$ ssh -i "TestKeyPair.pem" ubuntu@ec2-44-202-59-16.compute-1.amazonaws.comRun
sudo suto gain full admin rights to the Virtual Machine.Run
apt install wgetto install any relevant dependencies for your new instance.Install
cloudflaredon your instance. In this example, we are running a Debian-based instance, so download the Debian build ofcloudflared:$ wget https://github.com/cloudflare/cloudflared/releases/latest/download/cloudflared-linux-amd64.deb$ dpkg -i cloudflared-linux-amd64.debRun the following command to authenticate
cloudflaredwith your Cloudflare account. The command will launch a browser window where you will be prompted to log in with your Cloudflare account and pick any zone you have added to Cloudflare.$ cloudflared tunnel loginCreate a tunnel.
$ cloudflared tunnel create AWS-01Route your tunnel. In this example, we will expose the smallest range available. We can add more IP routes later if necessary.
$ cloudflared tunnel route ip add 172.31.0.0/16 AWS-01
Complete tunnel configuration
Make a directory for your configuration file.
$ mkdir /etc/cloudflared$ cd /etc/cloudflaredBuild a configuration file. Before moving forward and entering vim, copy your Tunnel ID and credentials path to a notepad.
$ vim config.ymlType
ito begin editing the file and copy-paste the following settings in it.tunnel: <Tunnel ID/name>credentials-file: /root/.cloudflared/<Tunnel ID>.jsonprotocol: quicwarp-routing:enabled: truelogfile: /var/log/cloudflared.log#cloudflared to the origin debugloglevel: debug#cloudflared to cloudflare debugtransport-loglevel: infoPress
escand then type:xto save and exit.Run
cloudflaredas a service.
Next, visit Zero Trust and ensure your new tunnel shows as active. Optionally, begin creating Access policies to secure your private resources.