Configure Magic WAN Connector (beta)
Prerequisites
You need Magic WAN to be able to use the Magic WAN Connector (beta). The Magic WAN Connector can function as your primary edge device for your network, or be deployed in-line with existing network gear.
Refer to the following steps to configure your Magic WAN Connector.
1. Purchase a Magic WAN Connector device
Contact your account representative to learn more about purchasing options for the Magic WAN Connector device.
2. Define a site configuration
Sites represent the local network where you have installed your Magic WAN Connector — for example, a branch office location.
To add a site:
Log in to the Cloudflare dashboard and select your account.
Go to Magic WAN > Sites.
Select Create to create a new site and start the configuration wizard.
Add a name and description for your new site.
Under Connector, select Add Connector. This will show you a list of Magic WAN Connector devices associated with your account.
Choose from the list the Connector corresponding to the site you are creating. Connectors are identified by a serial number, also known as a service tag. Select Add Connector when you are ready to proceed.
The Connector will be added to your site with an Interrupt service window defined. This is the time period when the Magic WAN Connector software can update, which may result in interruption to existing connections. You can change this later. Refer to Set up your Magic WAN Connector for more details.
Select Next to proceed.
Under WAN configuration, select the three dots in the Default WAN interface > Edit to configure your WAN (you should only have one WAN interface in this list):
- Network name: Enter a descriptive name for your WAN.
- (Optional) VLAN ID: Specify a VLAN ID and port for your WAN.
- Physical port: This refers to the physical Magic WAN Connector port that you are using for your WAN.
- Addressing: Specify whether the WAN IP should be fetched from a DHCP server or if it is a static IP. If you choose a static IP, you also need to specify the static IP and gateway IP addresses.
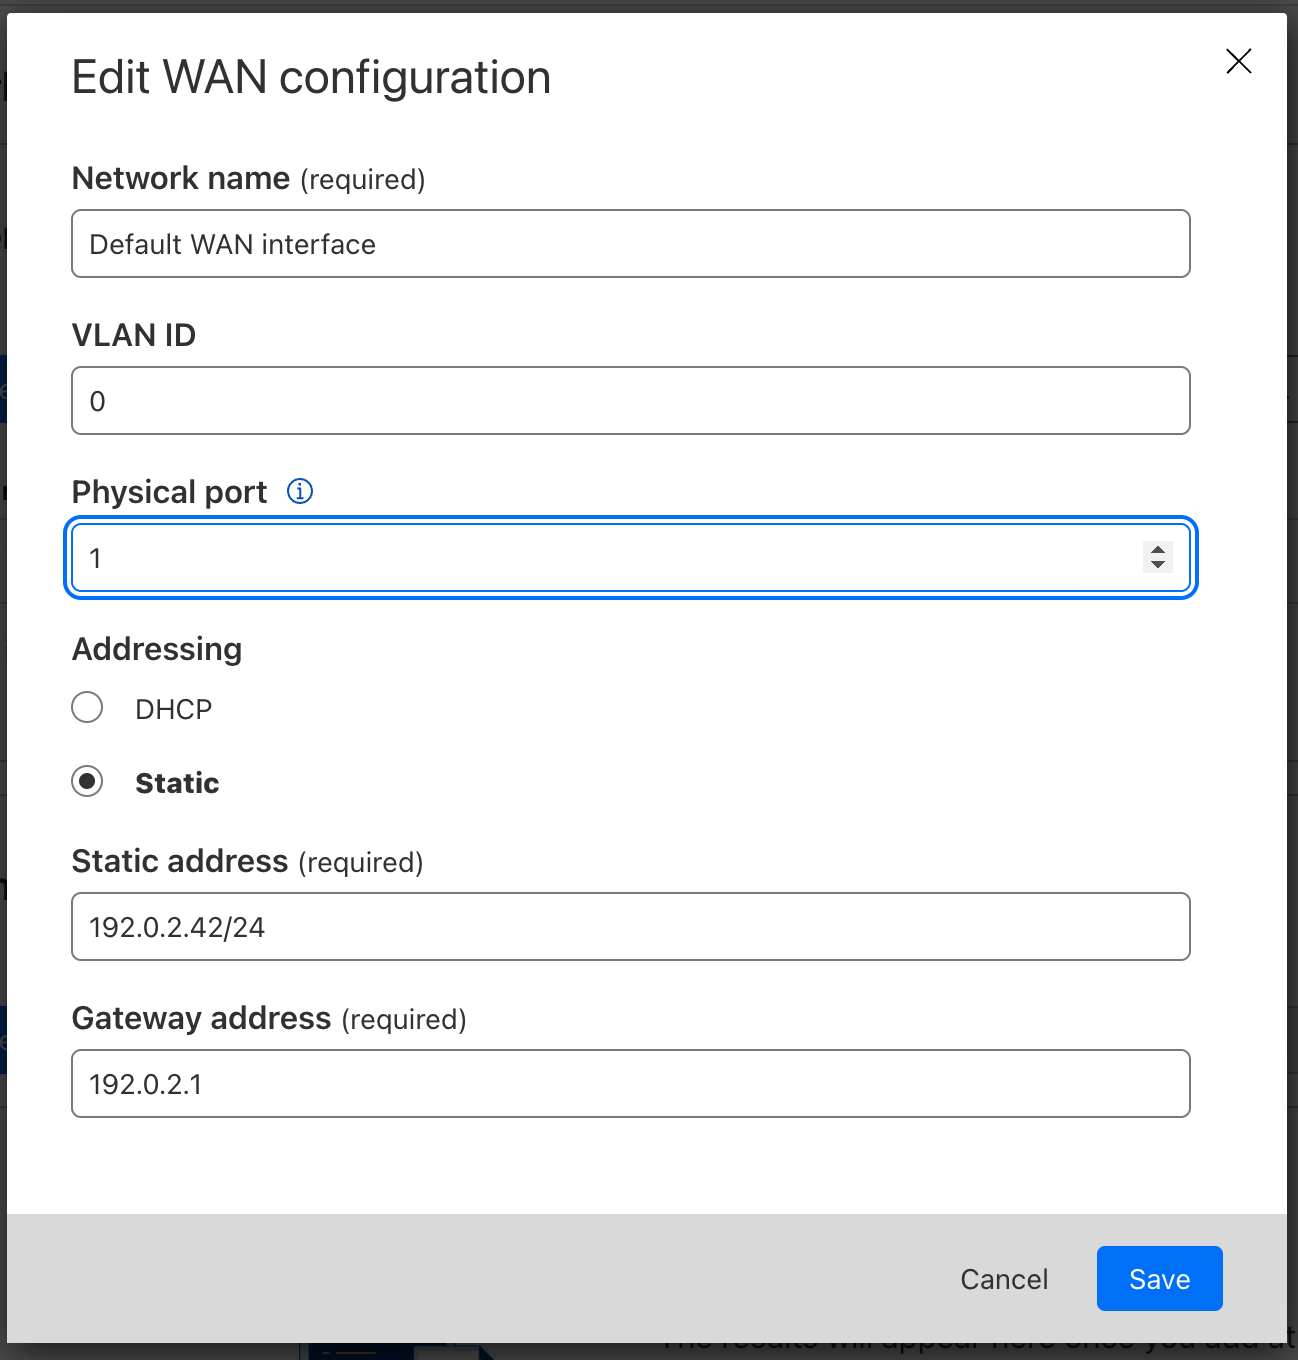
Select Save when you are finished.
In LAN configuration, select Create, and repeat the process to define your LAN:
- Network name: Enter a descriptive name for your LAN.
- (Optional) VLAN ID: Specify a VLAN ID and port for your LAN.
- Physical port: This refers to the physical Magic WAN Connector port’s number that you are using for your LAN.
- Overlay subnet: The subnet behind Magic WAN Connector. This should match the static address if you choose to set up your Connector with a static address.
- Addressing: Specify if your IP address should be fetched from a DHCP server, or if it is a static address.
- (Optional) This is a DHCP Server: Enable this to set up the Connector as a DHCP server. If you enable this option, you will also have to specify:
- The DNS server address
- The DHCP pool start
- The DHCP pool end
For example:
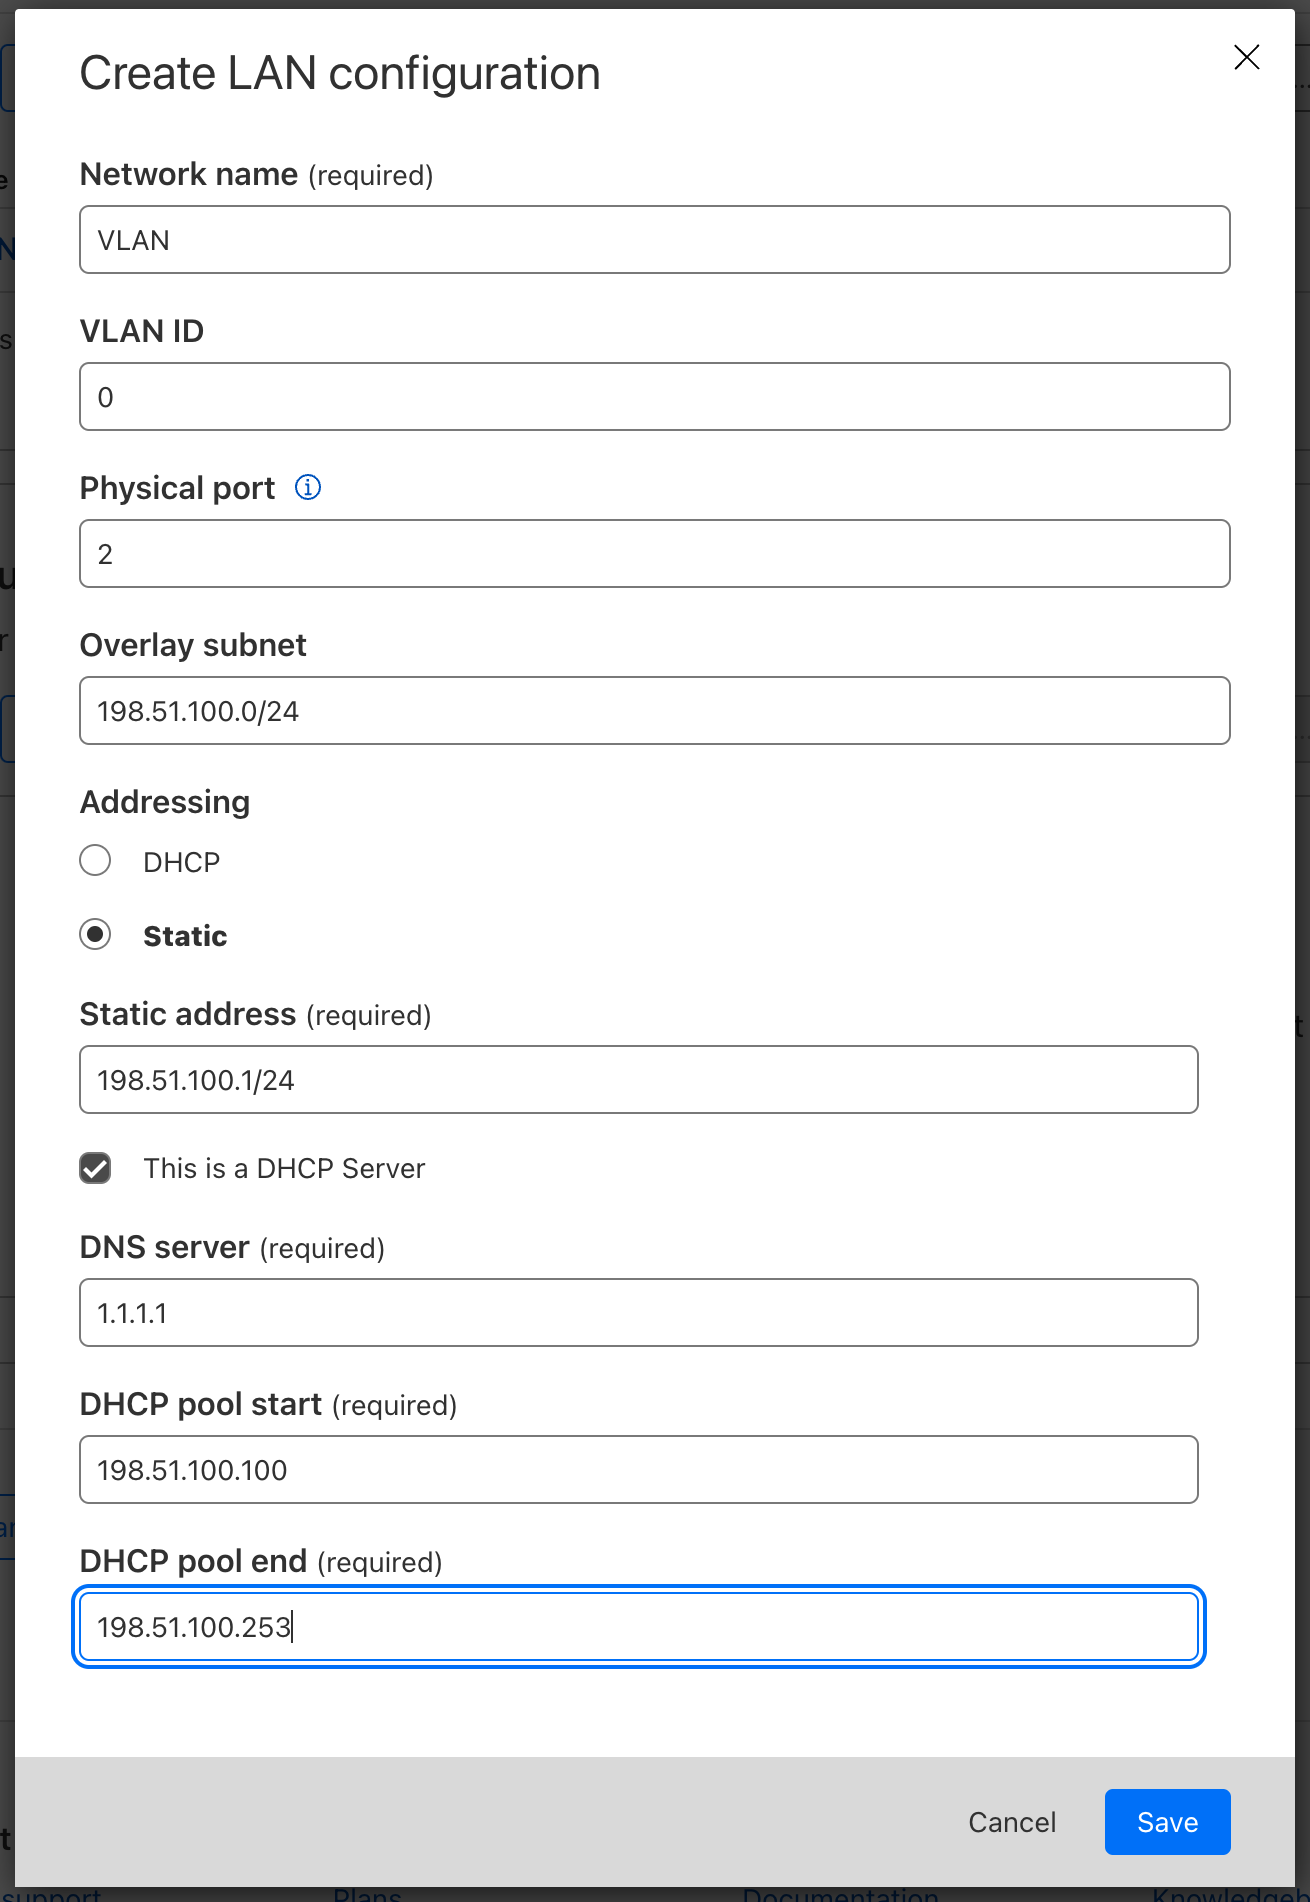
Select Save when you are finished.
Select Save and exit to finish your configuration. Tunnels and static routes will be automatically created and associated with your site once the Magic WAN Connector boots up (refer to the next step).
3. Set up your Magic WAN Connector
The Magic WAN Connector is shipped to you deactivated, and will only establish a connection to the Cloudflare network when it is activated. Cloudflare recommends leaving it deactivated until you are ready to establish the connection, to prevent unauthorized users to access your network.
When the Connector is first activated, one of the ports must be connected to the Internet through a route that supports DHCP. This is required so that the Connector can reach the Cloudflare global network and download the required configurations that you set up in the Site configuration step.
When you are ready to connect your Magic WAN Connector to the Cloudflare network, the first step is to navigate to the Cloudflare dashboard and activate the Connector:
- Log in to the Cloudflare dashboard and select your account.
- Go to Magic WAN > Configuration > Connectors.
- Find the Connector you want to activate, and select Edit. Make sure you verify the serial number to choose the right connector you want to activate.
- In the new window, the Status dropdown will show as Inactive. Select it to change the status to Activated.
- The Interrupt service window is the time period when the Magic WAN Connector software can update, which may result in interruption to existing connections. Choose a time period to minimize disruption to your sites.
- Select Update.